• Home
  • Blog
  • Recipes
    • Cakes & Cheesecakes
    • Brownies & Bars
    • Cupcakes & Muffins
    • Cookies & Biscuits
    • Breads
    • Desserts
    • Ice-Cream & Frozen
    • Chocolate
    • Smoothies & Drinks
    • Appetizers & Salads
  • By Collection
    • Breakfast & Brunch
    • Lunch & Dinner
    • Healthy
    • By Cuisine
      • Pakistani & Desi
      • Middle Eastern
      • Continental
    • By Occasions
      • Eid
      • Ramadan
      • Parties
  • Learn
    • Cake Decoration
    • Tutorials
    • Free Downloads
    • FAQs
  • Work with me
    • Get to know Nadia
    • Photography Portfolio
    • Customized Cakes
    • Testimonials
    • Media
    • Contact
    • Facebook
    • Instagram
    • Pinterest
    • Twitter
    • YouTube
Bakfresh - Homemade Baking Recipes for Busy Moms

Bake Fresh

Bake Fresh ยป Recipes ยป Breads ยป Tiger Bread with Daring Bakers

April 21, 2012 · Leave a Comment

Tiger Bread with Daring Bakers

Breads· Daring Bakers

Sharing is caring!

1 shares
  • Facebook
  • Email
  • Print
I absolutely love the aroma of freshly baked breads. The kind of crusty top and chewy centers typically European breads are my favorites. They are perfect for sandwiches and this month’s challenge from The Daring Kitchen was exactly that.
IMG 8629

First the blog checking lines.

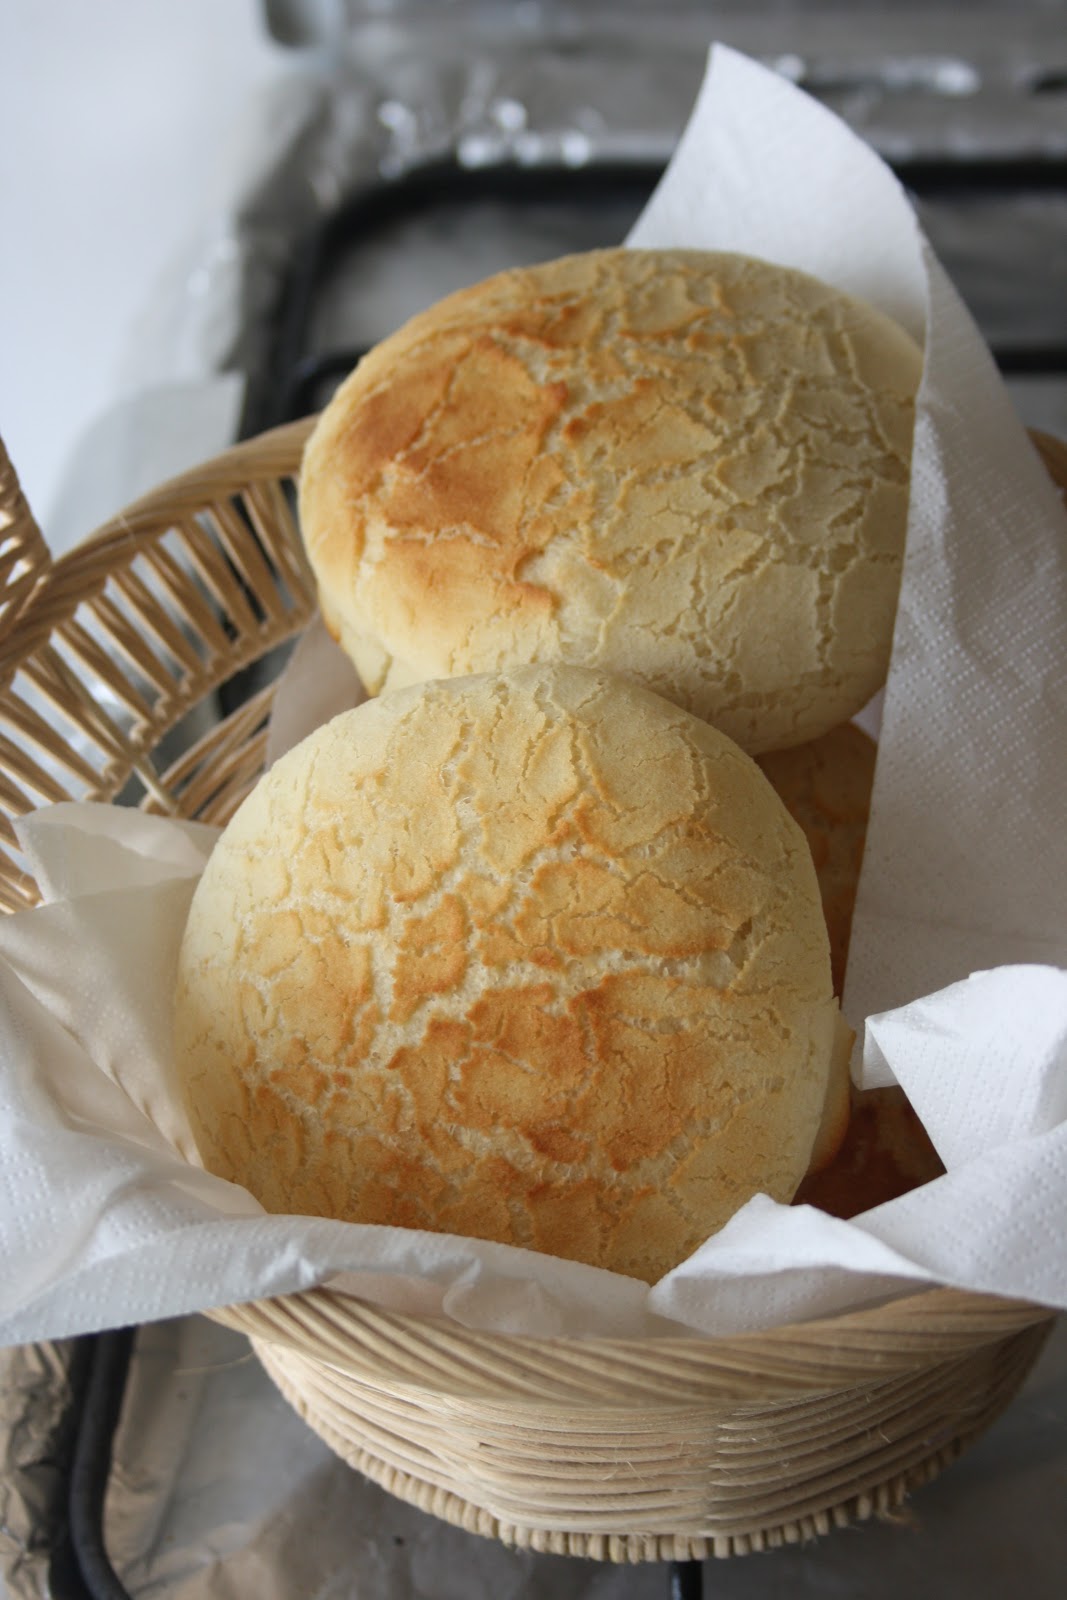
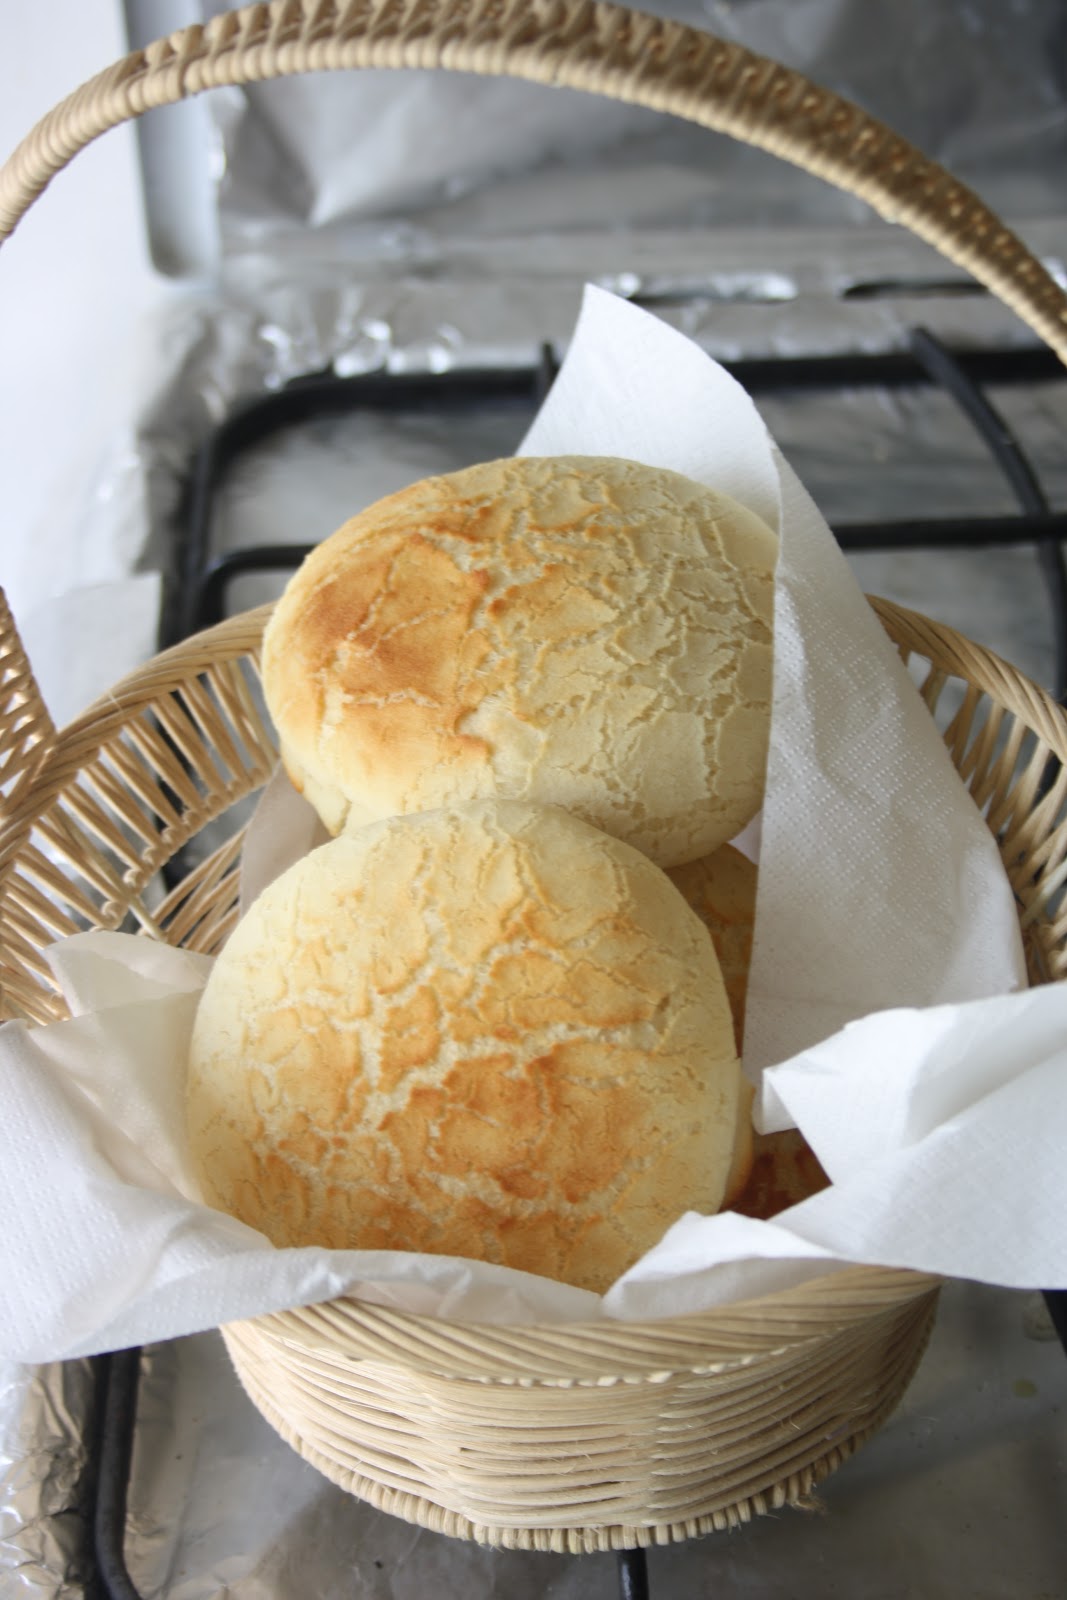
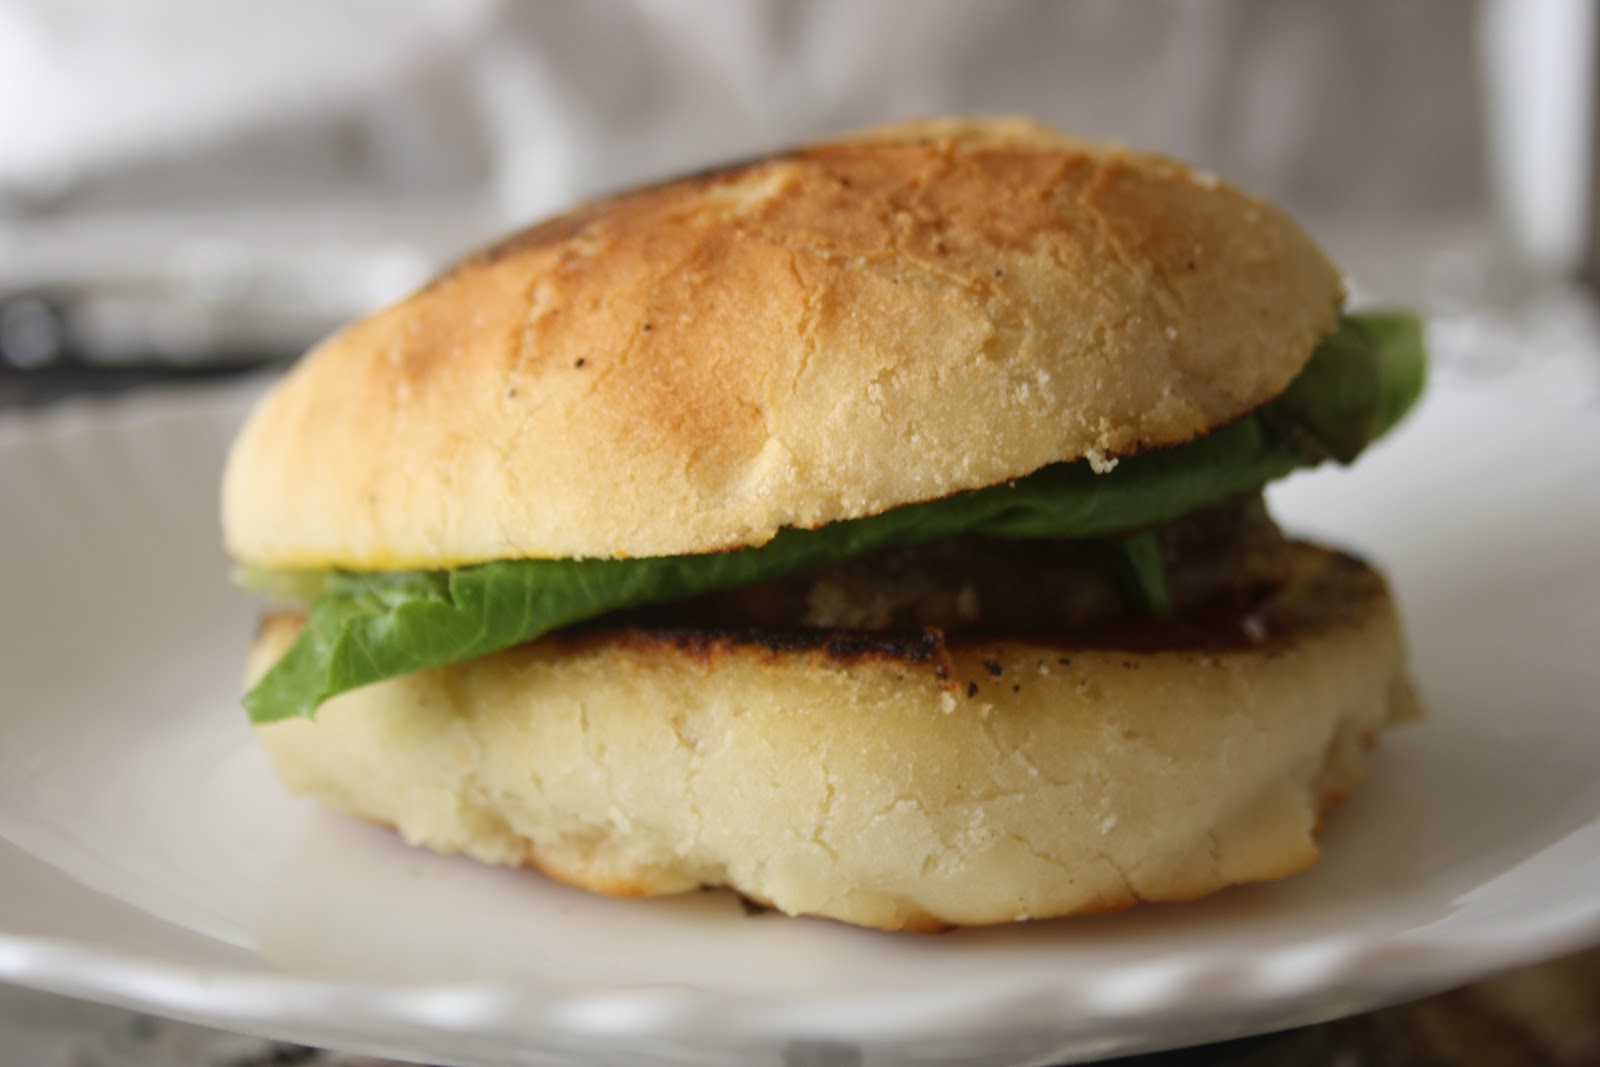
Sara and Erica of Baking JDs were our March 2012 Daring Baker hostesses! Sara & Erica challenged us to make Dutch Crunch bread, a delicious sandwich bread with a unique, crunchy topping. Sara and Erica also challenged us to create a one of a kind sandwich with our bread!

IMG 8633
 
Unfortunately I am always late for posting the challenges which are originally 27th of every month.Thanks to my hectic Cake decorating schedule, blogging takes a back seat.
This month we were given task of making Tiger Bread.The tiger refers to the crunchy Dutch topping which when baked becomes thickly cracked giving it a distinctive look and flavor. Its very easy to make and is perfect for making sandwiches. Please note that I just used the rice flour available at my hands although recipe mentions that gluten-free rice flour should be used. I had absolutely no trouble making this bread.
So here is the recipe copied from the The Daring Bakers’ original post
IMG 8627
Dutch Crunch Topping
We’ve provided this recipe first because it is the mandatory aspect of the challenge. Note, however, that you should not prepare the topping until the bread you’ve selected to bake is almost finished rising (~15 minutes from baking).

Ingredients
1 cup (240 ml) warm water (105-115º F) (41-46°C)
2 tablespoons (30 ml) (30 gm/1 oz) sugar
2 tablespoons (30 ml) vegetable oil
½ teaspoon (2½ ml) (3 gm) salt
1½ cups (360 ml) (240 gm/8½ oz) rice flour (white or brown; NOT sweet or glutinous rice flour) (increase by 1 cup or more for home-made rice flour)

Method
1. Combine all ingredients in a large bowl and beat with a whisk; beat hard to combine. The consistency should be like stiff royal icing – spreadable, but not too runny. If you pull some up with your whisk, as shown below, it should drip off slowly. Add more water or rice flour as necessary. Let stand 15 minutes.
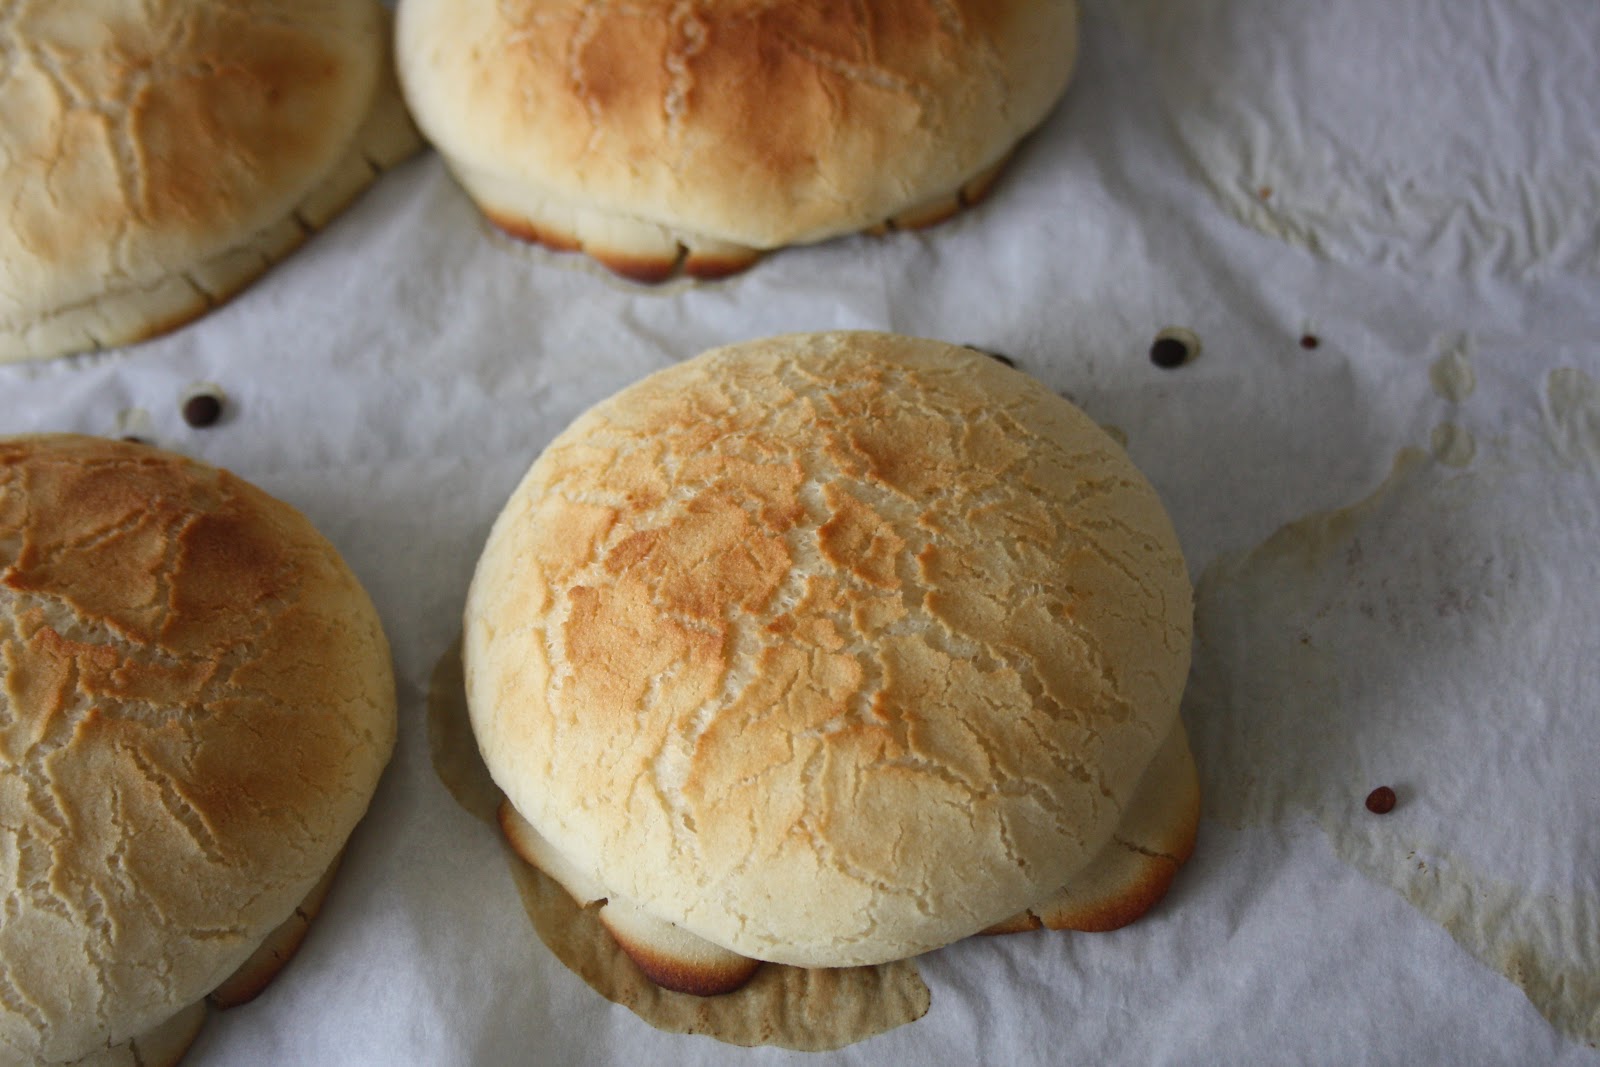
2. Coat the top of each loaf or roll with a thick layer of topping. We tried coating it with a brush but it worked better just to use fingers or a spoon and kind of spread it around. You should err on the side of applying too much topping – a thin layer will not crack properly.

3. Let stand, uncovered, for any additional time your recipe recommends. With the Soft White Roll, you can place the rolls directly into the oven after applying the topping. With the Brown Rice Bread, the loaves should stand for 20 minutes with the topping before baking.
4. When baking, place pans on a rack in the center of the oven and bake your bread as you ordinarily would. The Dutch Cruch topping should crack and turn a nice golden-brown color.

Soft White Roll
 
Ingredients¼ cup (60 ml) warm water (105-110º F) (41-43°C) (No need to use a thermometer – it should feel between lukewarm and hot to the touch).
1 cup (240 ml) warm milk (105-110º F) (41-43°C) (We’ve tried both nonfat and 2%, with no noticeable difference)
1½ tablespoons (22½ ml) (20 gm/ ⅔ oz) sugar
2 tablespoons (30 ml) vegetable oil (plus additional olive or vegetable oil for greasing bowl during rising)
1½ teaspoons (7½ ml) (9 gm/⅓ oz) salt
Up to 4 cups (960 ml) (600 gm/21oz) all purpose flour
Method

1. In the bowl of an electric mixer or large mixing bowl, combine yeast, water, milk and sugar. Stir to dissolve and let sit for about 5 minutes (The mixture should start to bubble or foam a bit and smell yeasty). 2. Add in vegetable oil, salt and 2 cups of flour. Using the dough hook attachment or a wooden spoon, mix at medium speed until the dough comes together. (The photo to below is with the first 2 cups of flour added).

3. Add remaining flour a quarter cup at time until the dough pulls away from the sides of the bowl, as shown in the photo below (For us, this usually required an additional 1½ to 2 cups of flour).
4. Turn out onto a lightly floured surface and knead for about 4 minutes, until smooth and elastic.
5. Place in a lightly greased bowl and cover with plastic wrap. Let rise for 1 hour, or until doubled (or more) in size (see photo comparison).
6. Once the dough has risen, turn it out onto a lightly floured surface and divide it into 6 equal portions (if you’d like to make rolls) or 2 equal portions (if you’d like to make a loaf) (using a sharp knife or a dough scraper works well). Shape each into a ball or loaf and place on a parchment-lined baking sheet (try not to handle the dough too much at this point).
7. Cover with plastic wrap and let rise for 15 minutes while you prepare the topping.
8. Coat the top of each roll or loaf with the topping as described above. While the original recipe recommends letting them stand for 20 minutes after applying the topping, I got better results by putting them directly into the oven.
9. Once you’ve applied the topping, bake in a preheated moderately hot 380ºF/190°C/gas mark 5 for 25-30 minutes, until well browned. Let cool completely on a wire rack before eating.


IMG 8643


Related Recipes

Croissant - Danish pastry
Croissants for Daring Bakers
Pastry - Doughnut
Do Doughnuts with Daring Bakers!
Default ThumbnailSuper easy crusty bread
Text
Everything you need to get started – Baking

Sharing is caring!

1 shares
  • Facebook
  • Email
  • Print
Previous Post: « Strawberries Colada Cupcakes
Next Post: Quick Chocolate Fudge »

Leave a Reply Cancel reply

Your email address will not be published. Required fields are marked *

Recipe Rating


This site uses Akismet to reduce spam. Learn how your comment data is processed.

HELLO & WELCOME

Nadia Tariq bakefresh owner

Hello, I’m Nadia. I am the cake decorator, blogger, a fanatic mom and a home maker, passionate about all things sweet and pretty.


READ MORE

NEVER MISS A RECIPE!

Bake at home like a pro. Sign up for our weekly newsletter.

CATEGORIES

Privacy Policy

1 shares