Today I am going to teach you how to put an edible image on a cake but also even more important question I often get asked.
What to do if you do not have edible cake image available? There is a very cool technique that I use which I will explain later along with a video.
What are edible image prints?
Edible prints are images or photos printed using edible inks on edible icing sheet or edible paper using edible printer systems. They can be placed on variety of sweet treats.
Where to get the edible image printed?
You can have the system at home with edible ink cartridges and edible printers but if you are not a professional cake decorator then most likely you can get them printed from a nearby cake shop. In Riyadh, I would suggest, check with Sadeddin Bakery, some of its branches do print out edible icing sheets.
How to store the edible printed topper?
When you receive your edible sheet, it will be on a backing material (slightly stiff non-edible paper) with plastic bag or cover to avoid drying out.
You can keep it outside in a sealed bag at room temperature in a cool dark place, high humidity or direct sunlight can decrease the shelf life of your printed image.
In summer months or humid conditions, it is advisable to use the icing image quickly.
What is the material of edible image sheet?
They are frosting sheets mainly made from sugar paste but they are different from rice paper or wafer paper.
What type of cakes to use for placing edible cake toppers?
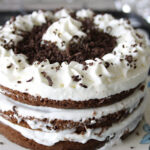
Place the edible photo on any type of cake (e.g this chocolate cake)that is frosted using butter cream or fondant. It is also important that buttercream cakes have developed a ‘skin’ and are not wet to touch.
Though various frostings like whipped cream, non-dairy frosting, cream cheese or ice cream cake can be used, even a small amount of water in these frostings can ruin the printed sheet.
How to place an edible picture on a cake?
To use the edible printed image, with clean and dry hands, cut the sheet into desire shape or/and right size using exacto knife or sharp scissors. Do not remove the backing paper as yet.
I like to lightly brush the top of the cake surface with damp brush. Do not use too much water. If your sheet has gone a little try, you can use fine mist of water on part of the cake (flat surface) where you want to place the image. Holding the image from sides and not top (to avoid visible fingerprints), carefully lift the image from the backing paper and place it on the cake, removing any air bubbles.
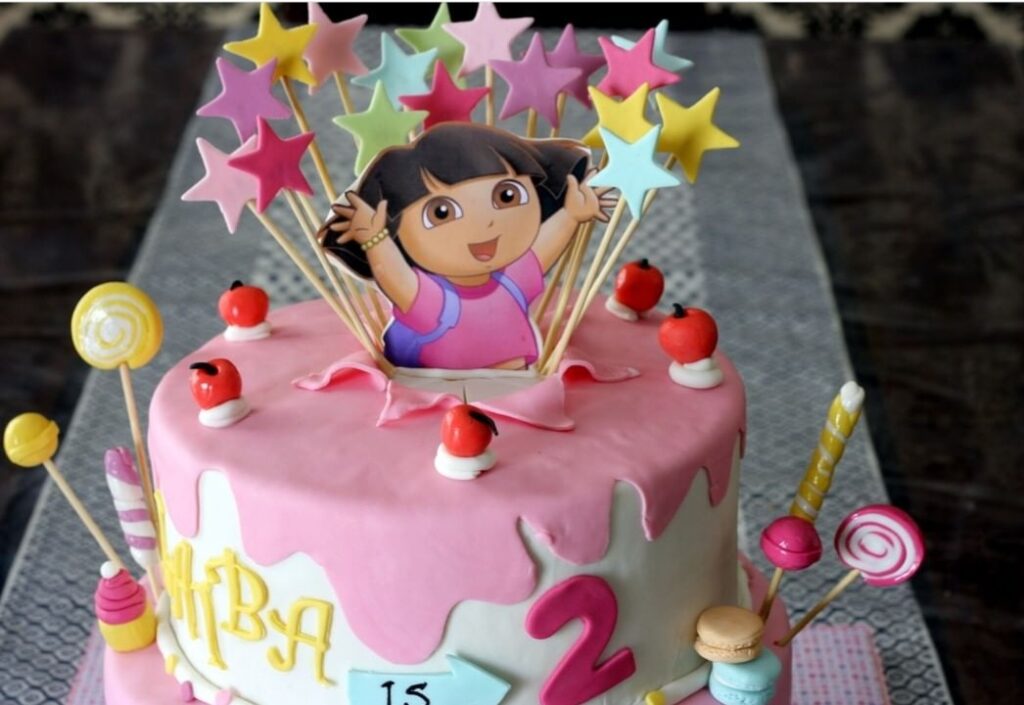
What if I don’t have an edible image or edible prints for cake?
While I have occasionally used edible sheets, however on multiple instances, I have used a very cool technique. Here is what I do:
Print cartoon characters, or photograph of the birthday girl/boy using a normal home printer (inkjet printer for example).
Make sure its a high quality print on a normal paper.
Next you are going to make a ‘plaque’.
Take your fondant, I prefer white, place your pre-cut image on the rolled out fondant approximately 2mm thickness. Using sharp knife or exacto cut out the fondant accordingly.
Using edible glue (gum-tex or tylose powder with little water, making a thick paste) apply it lightly with a brush on the fondant. Do not use water here. Apply in places where necessary like on edges and middle dabbing any extra glue.
Carefully place the printed image and smooth it out.
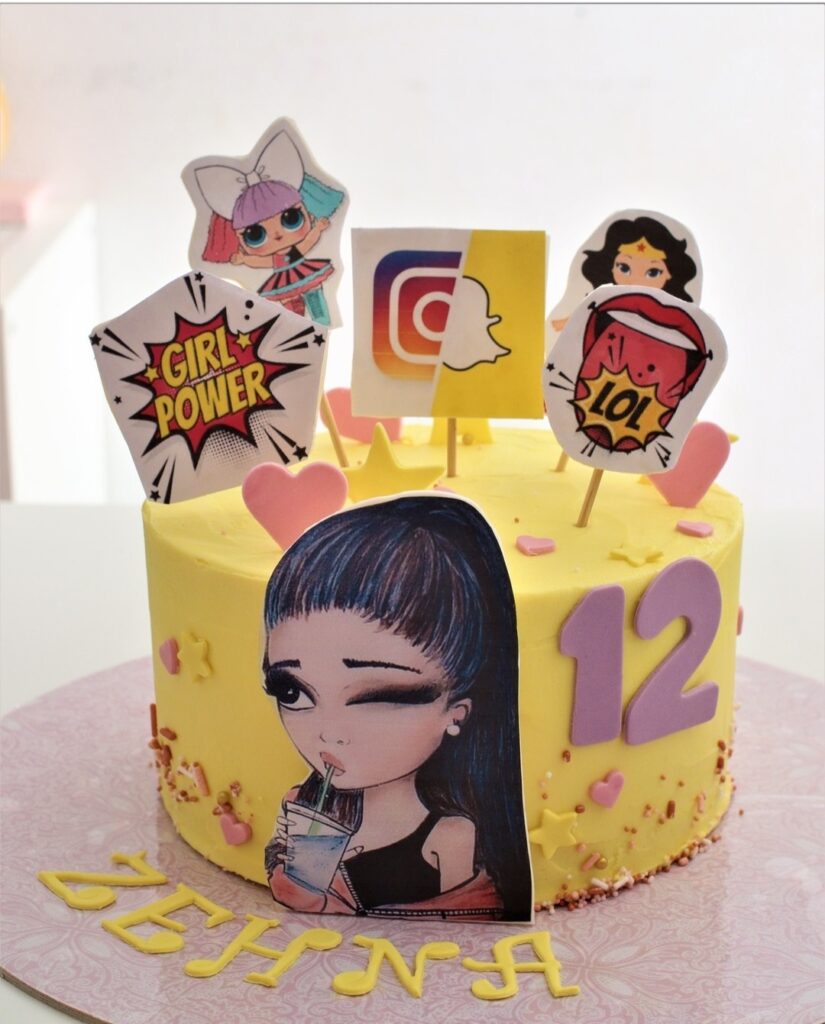
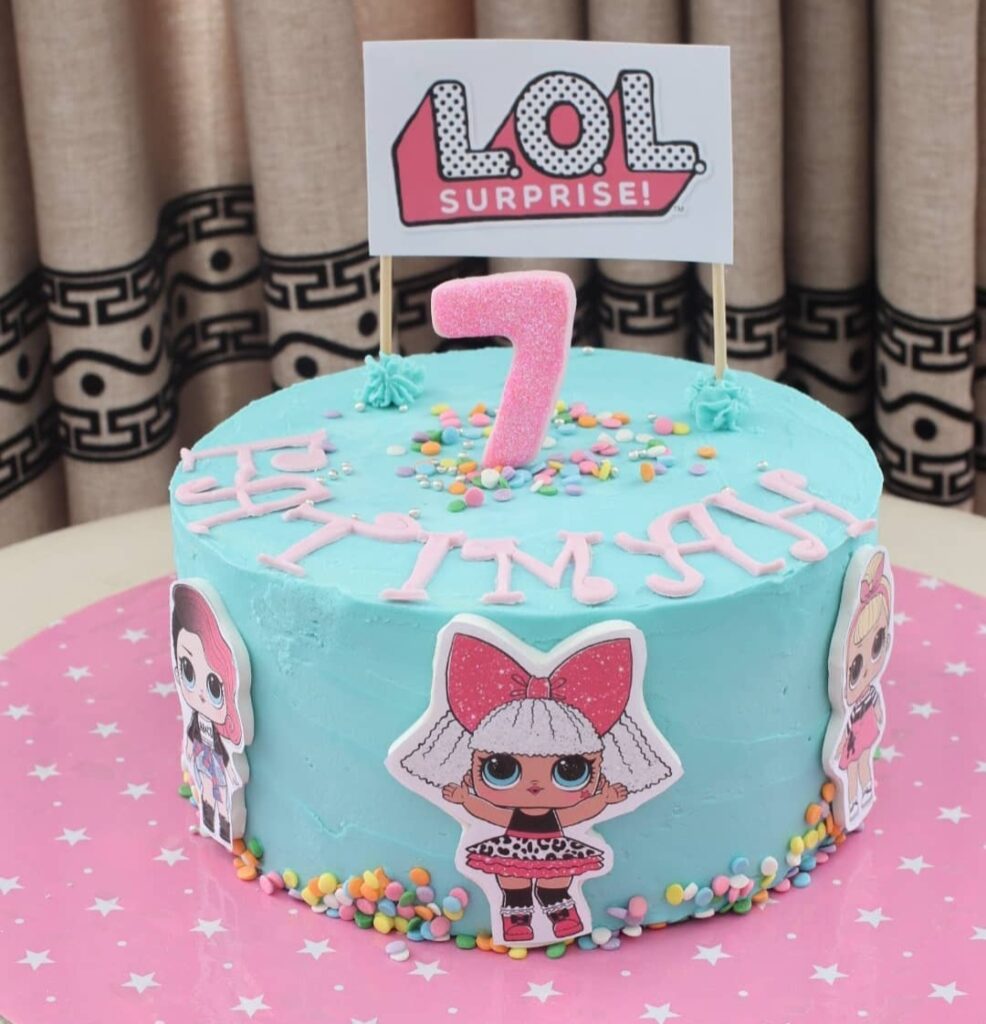
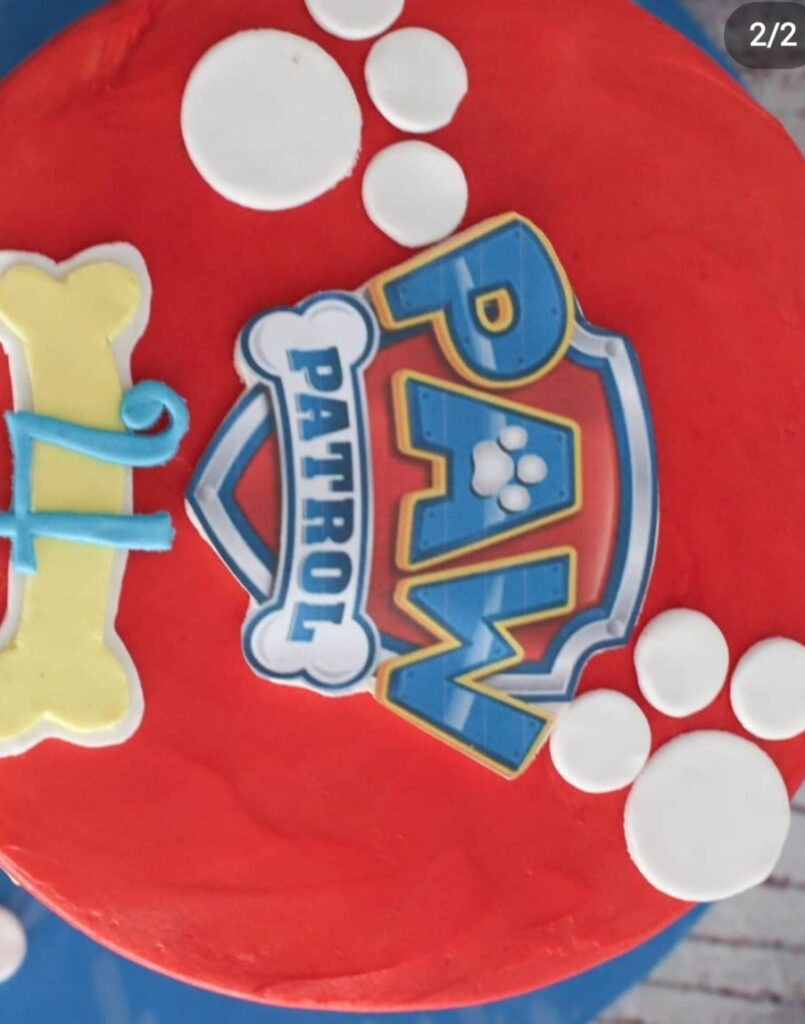
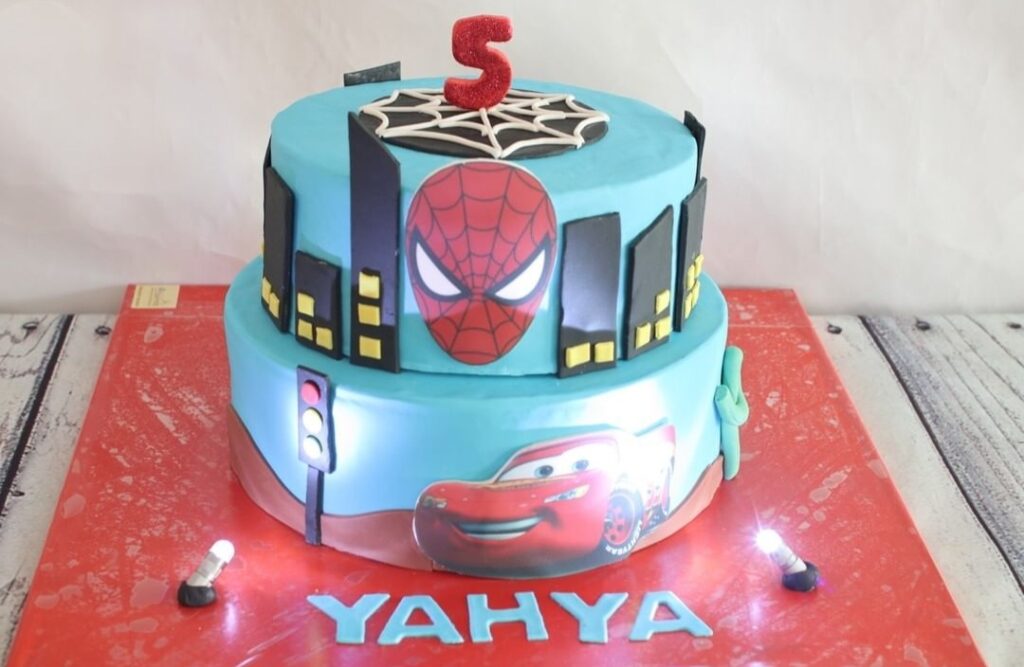
If you are scared of ruining your print and for better results you can even laminate the image. Important thing is to keep the paper away from water or icing. Here is a step by step video explaining in detail. Following are some examples using this technique.


Leave a Reply